
January 1988 · Vol. 24 No. 1
January 1988 Magazine (Vol. 24 No. 1)
Magazine · 36 pages
Search this issue
For the full-resolution original, use Open PDF above. Your browser handles PDF zoom and navigation.
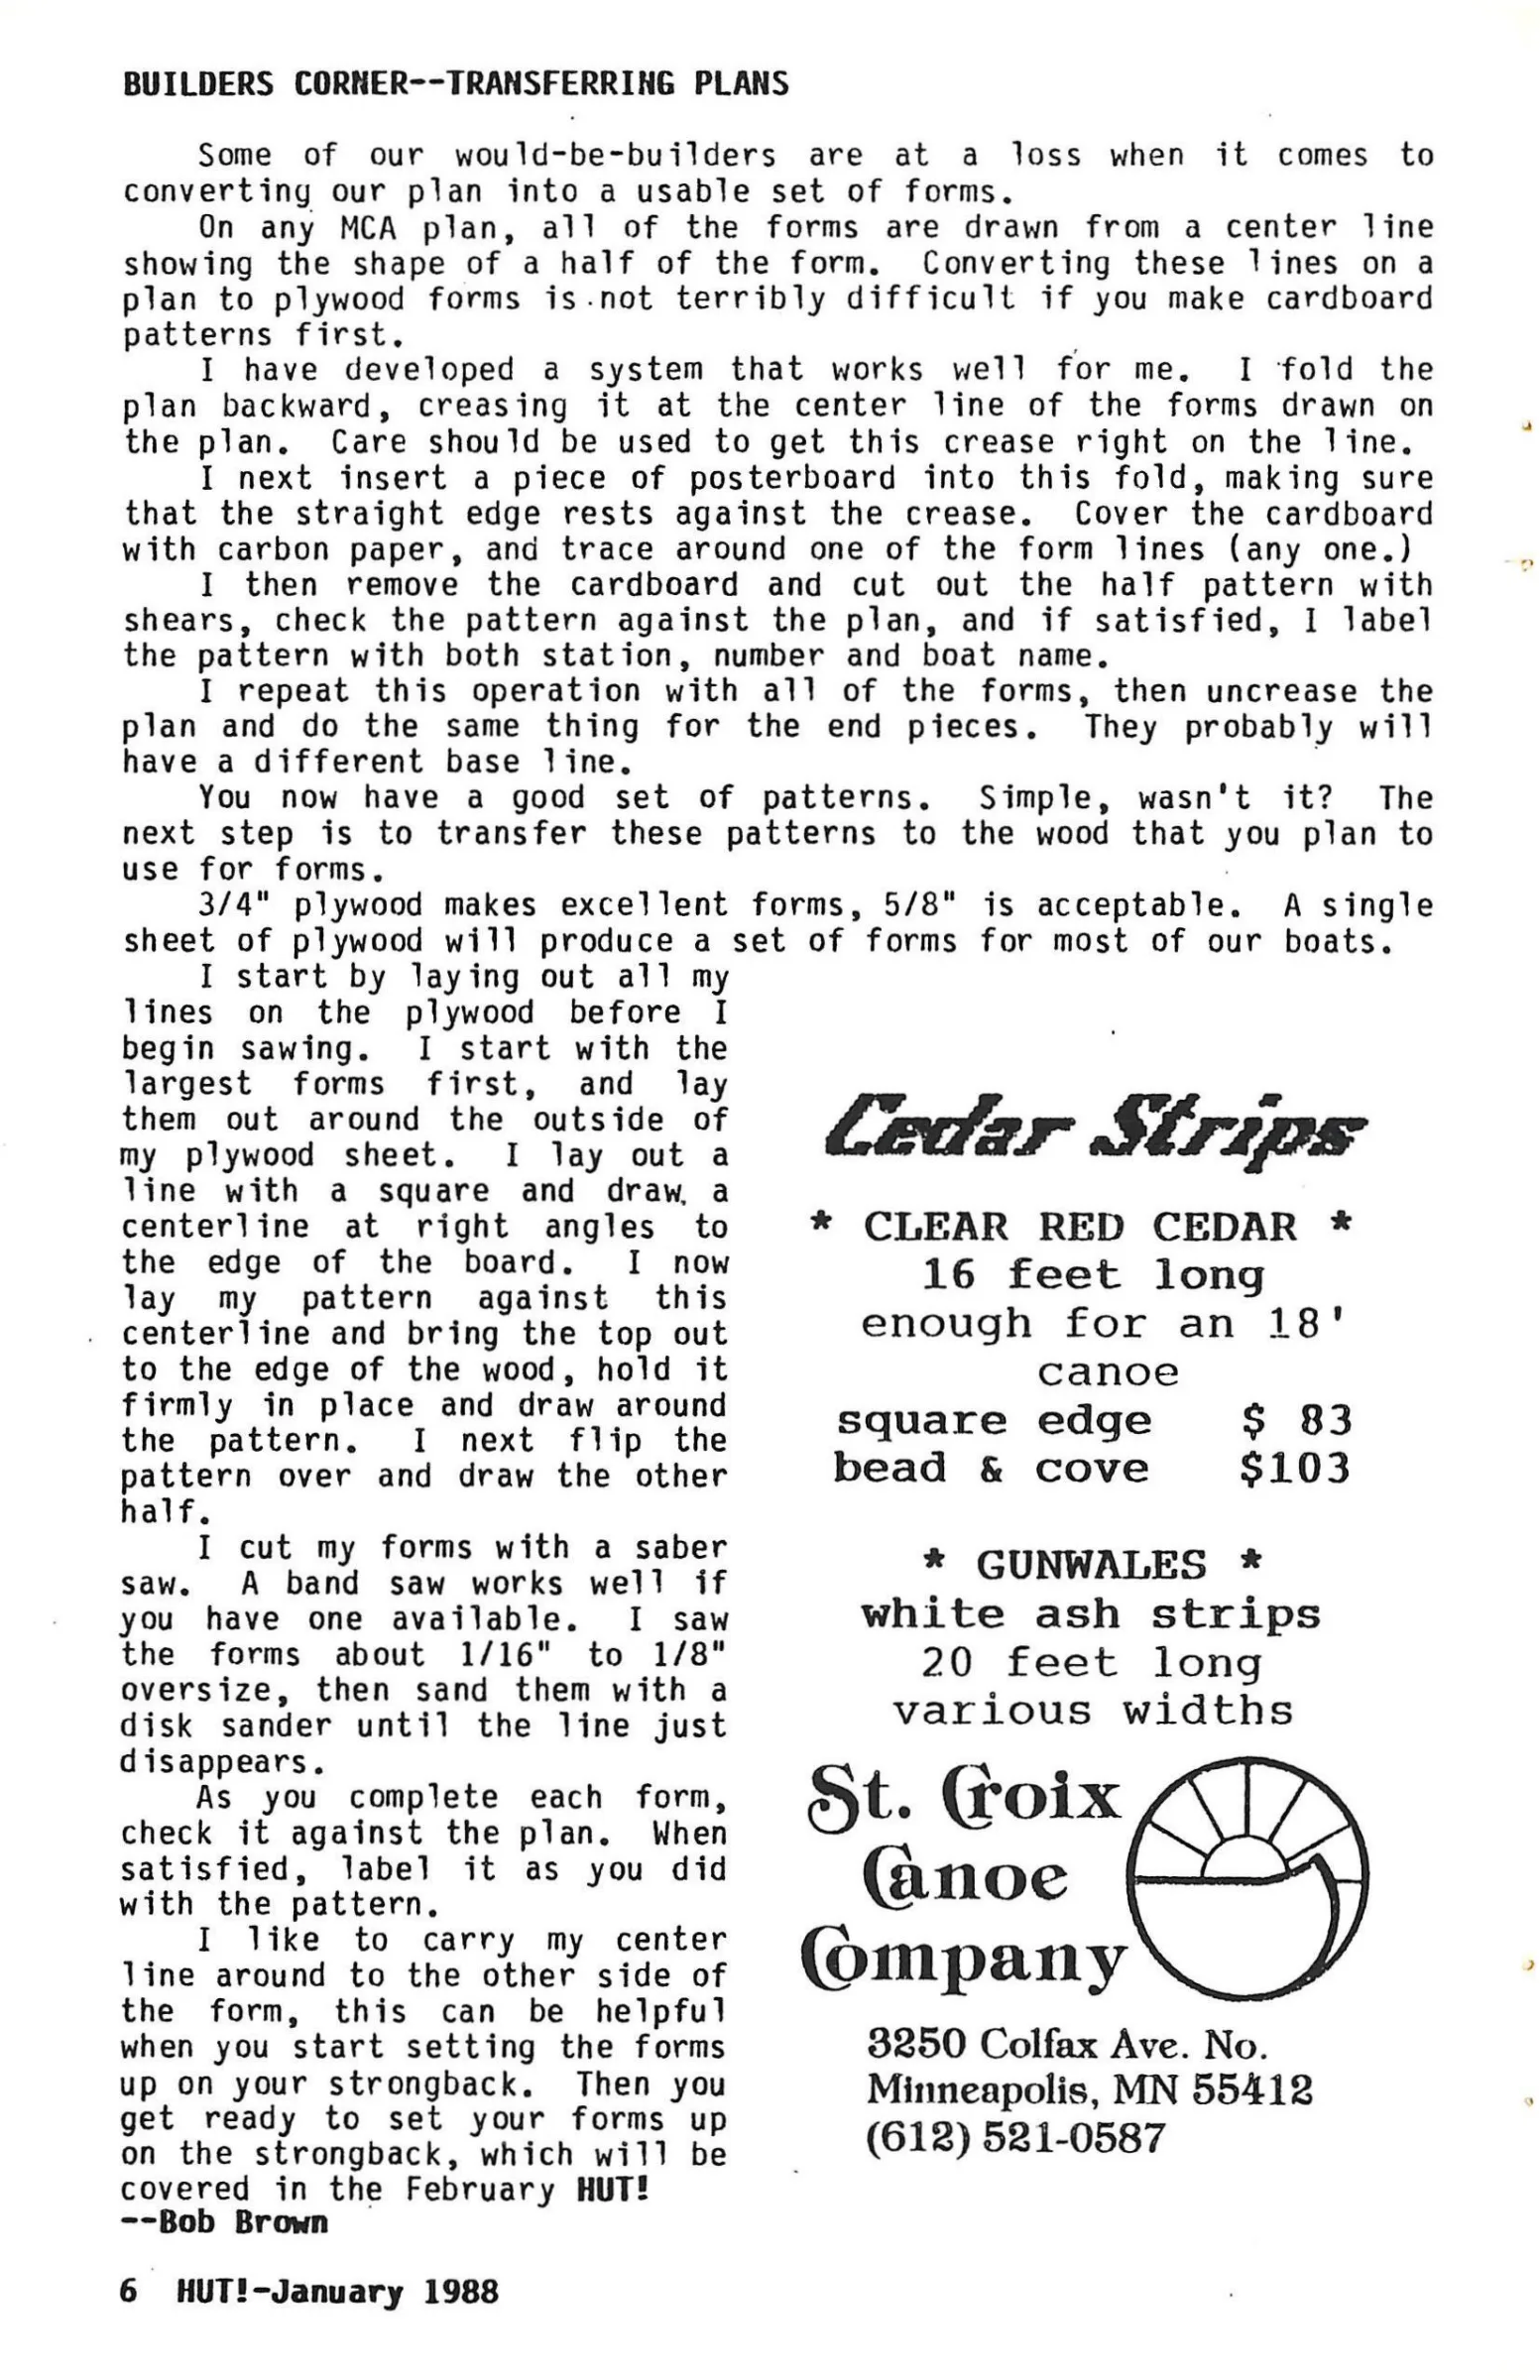
Searchable text for scan page 6
BUILDERS CORNER--TRANSFERRING PLANS
Some of our would-be-builders are at a loss when it comes to
converting our plan into a usable set of forms.
On any MCA plan, all of the forms are drawn from a center line
showing the shape of a half of the form. Converting these lines on a
plan to plywood forms is.not terribly difficult if you make cardboard
patterns first, ;
I have developed a system that works well for me. I fold the
plan backward, creasing it at the center line of the forms drawn on
the plan. Care should be used to get this crease right on the line.
I next insert a piece of posterboard into this fold, making sure
that the straight edge rests against the crease. Cover the cardboard
with carbon paper, and trace around one of the form lines (any one.)
I then remove the cardboard and cut out the half pattern with
shears, check the pattern against the plan, and if satisfied, 1 label
the pattern with both station, number and boat name.
I repeat this operation with all of the forms, then uncrease the
plan and do the same thing for the end pieces. They probably will
have a different base line.
You now have a good set of patterns. Simple, wasn’t it? The
next step is to transfer these patterns to the wood that you plan to
use for forms.
3/4" plywood makes excellent forms, 5/8" is acceptable. A single
sheet of plywood will produce a set of forms for most of our boats.
I start by laying out all my
lines on the plywood before I
begin sawing. I start with the
largest forms first, and lay ~
them out around the outside of
my plywood sheet. I lay out a Cedar SLTLIS
line with a square and draw, a
centerline at right angles to * CLEAR RED CEDAR *
the edge of the board. I now 16 feet long
Jay my pattern against this '
centerline and bring the top out enough for an 18
to oe edge ka the Hebel hold it canoe
firmly in place and draw around
the pattern. I next flip the square edge ° 83
pattern over and draw the other bead & cove $103
half.
I cut my forms with a saber * x
saw. A band saw works well if . GUNWALES .
you have one available. I saw white ash strips
the forms about 1/16" to 1/8" 20 feet long
oversize, then sand them with a
disk sander until the line just
disappears. ~
As you complete each form, St. (roix
check it against the plan. When
satisfied, label it as you did (a
with the pattern, anoe
I like to carry my center
line around to the other side of (Ompany
the form, this can be helpful
various widths
when you start setting the forms 3250 Colfax Ave. No.
up a yor perenghanks Jneb you Minneapolis, MN 55412
get ready to set your forms up
on the strongback, which will be ; (618) 521-0587
covered in the February HUT!
--Bob Brown
6 HUT!-January 1988
Article contents & approved summaries (0)
No article summaries are available for this view.