
May 1988 · Vol. 24 No. 5
May 1988 Magazine (Vol. 24 No. 5)
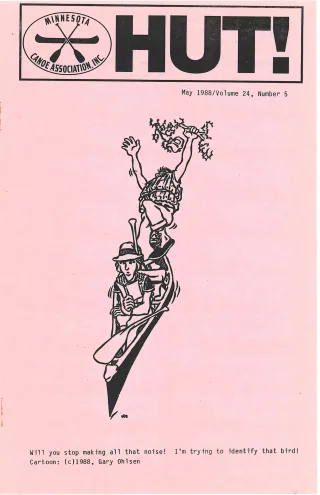
Magazine · 56 pages
Search this issue
May 1988 Magazine (Vol. 24 No. 5)
Captured text — scan page 15
Automatically captured text may contain recognition errors. Compare it with the original scan.
I decided to re-live the days of my youth and again carry a
thin-bladed sheath knife. And what a revelation. The 4-1/2 inch
long flat-ground blade of my Gerber Shorty proved superior over the
Puma on all occasions. The Gerber was grand for slicing onions, for
dipping deep into the peanut butter jar (poly, of course), for
filleting fish... and for the myriad jobs that are required of a good
camp knife.
As to opening cans, popping bottle caps and boring holes through
Jeather, the Gerber doesn't cut it. That's why I always carry a
smal] "possibles sack," which includes made-for-the-job tools that
do.
Maintaining your edged tool: At the top of the list is a "good"
sheath. And none of the store bought models--least alone those which
are furnished with the tool--qualify. Factory sheaths are almost
always flimsy, badly reinforced, and stupidly designed. You'll have
to make your own. First stop, Tandy Leather Company. Get as thick a
leather as you can find. A full one-eighth inch is about right.
Don't worry that it is stiff and difficult to handle. Also, get
enough heavy brass leather rivets (the two-piece hammer driven type)
to secure your project.
First step is to make a paper, or better, corrugated cardboard
pattern. Be sure to allow ample allowance for the rivets. Next,
soak the leather in water for a few minutes until it is pliable, then
cut out the pattern with an X-acto knife.
Now, form the leather around the knife, working the hilt area
with your thumb. The leather will mold easily to the handle shape.
Next step is to cut a quarter inch wide strip of leather as an "edge
guard"--this prevents the knife blade from cutting into the rivets.
Allow the sheath to dry for an hour, then glue the pieces
together with contact cement. Then, rivet everything together.
Or....take your handiwork to a nearby shoemaker. He'll sew it for
you on his heavy machine. Takes about a minute and costs about three
bucks.
When you return home, wet down the sheath again, grease up the
knife (so it won't rust) and re-form the wet leather, allowing the
knife to remain sheathed overnight. Next day, apply several coats of
shoe polish for that custom look. Do not use shoe greases; they'1]
soften the leather.
Same procedure for making the axe or maul sheath. Two pieces of
rectangular (slab) leather with an edge guard and nylon security
strap/buckle works fine.
Sharpening: Use a flat mill file on the axe, filing into the
blade. Finish up with a genuine oi! stone. For speed, use a
circular stroke with the stone. If you want a finer edge, stone into
the blade, like you would with a knife.
I carry two stones on my canoe trips: a compact "diamond" stone
(water lubricated) for a fast, rough edge, and a medium-fine pure
Arkansas stone. I also bring honing oi1 and a small strip of leather
belt that's been impregnated with jeweler's rouge. You don't need
all this for a deadly woods edge, but remember, I'm a knife freak--an
afficionado of razor-keen tools.
Each day, I strop my tools on leather. They are sharpened on the
Arkansas stone at least once a week. My favorite knife, a custom
Ruana with 4-inch blade, never sees the diamond stone. A "hard"
Arkansas slip stone jis enough to keep its razor edge sharper than
sharp.
Here's wishing you fair winds, bug-free days, and an efficient
edge on the unkind moods of nature.--Cliff Jacobson
May 1988-HUT! 15
Article contents & approved summaries (0)
No article summaries are available for this view.