
December 1981 · Volume/issue not printed or unknown
December 1981 Magazine
Magazine · 16 pages
Search this issue
For the full-resolution original, use Open PDF above. Your browser handles PDF zoom and navigation.
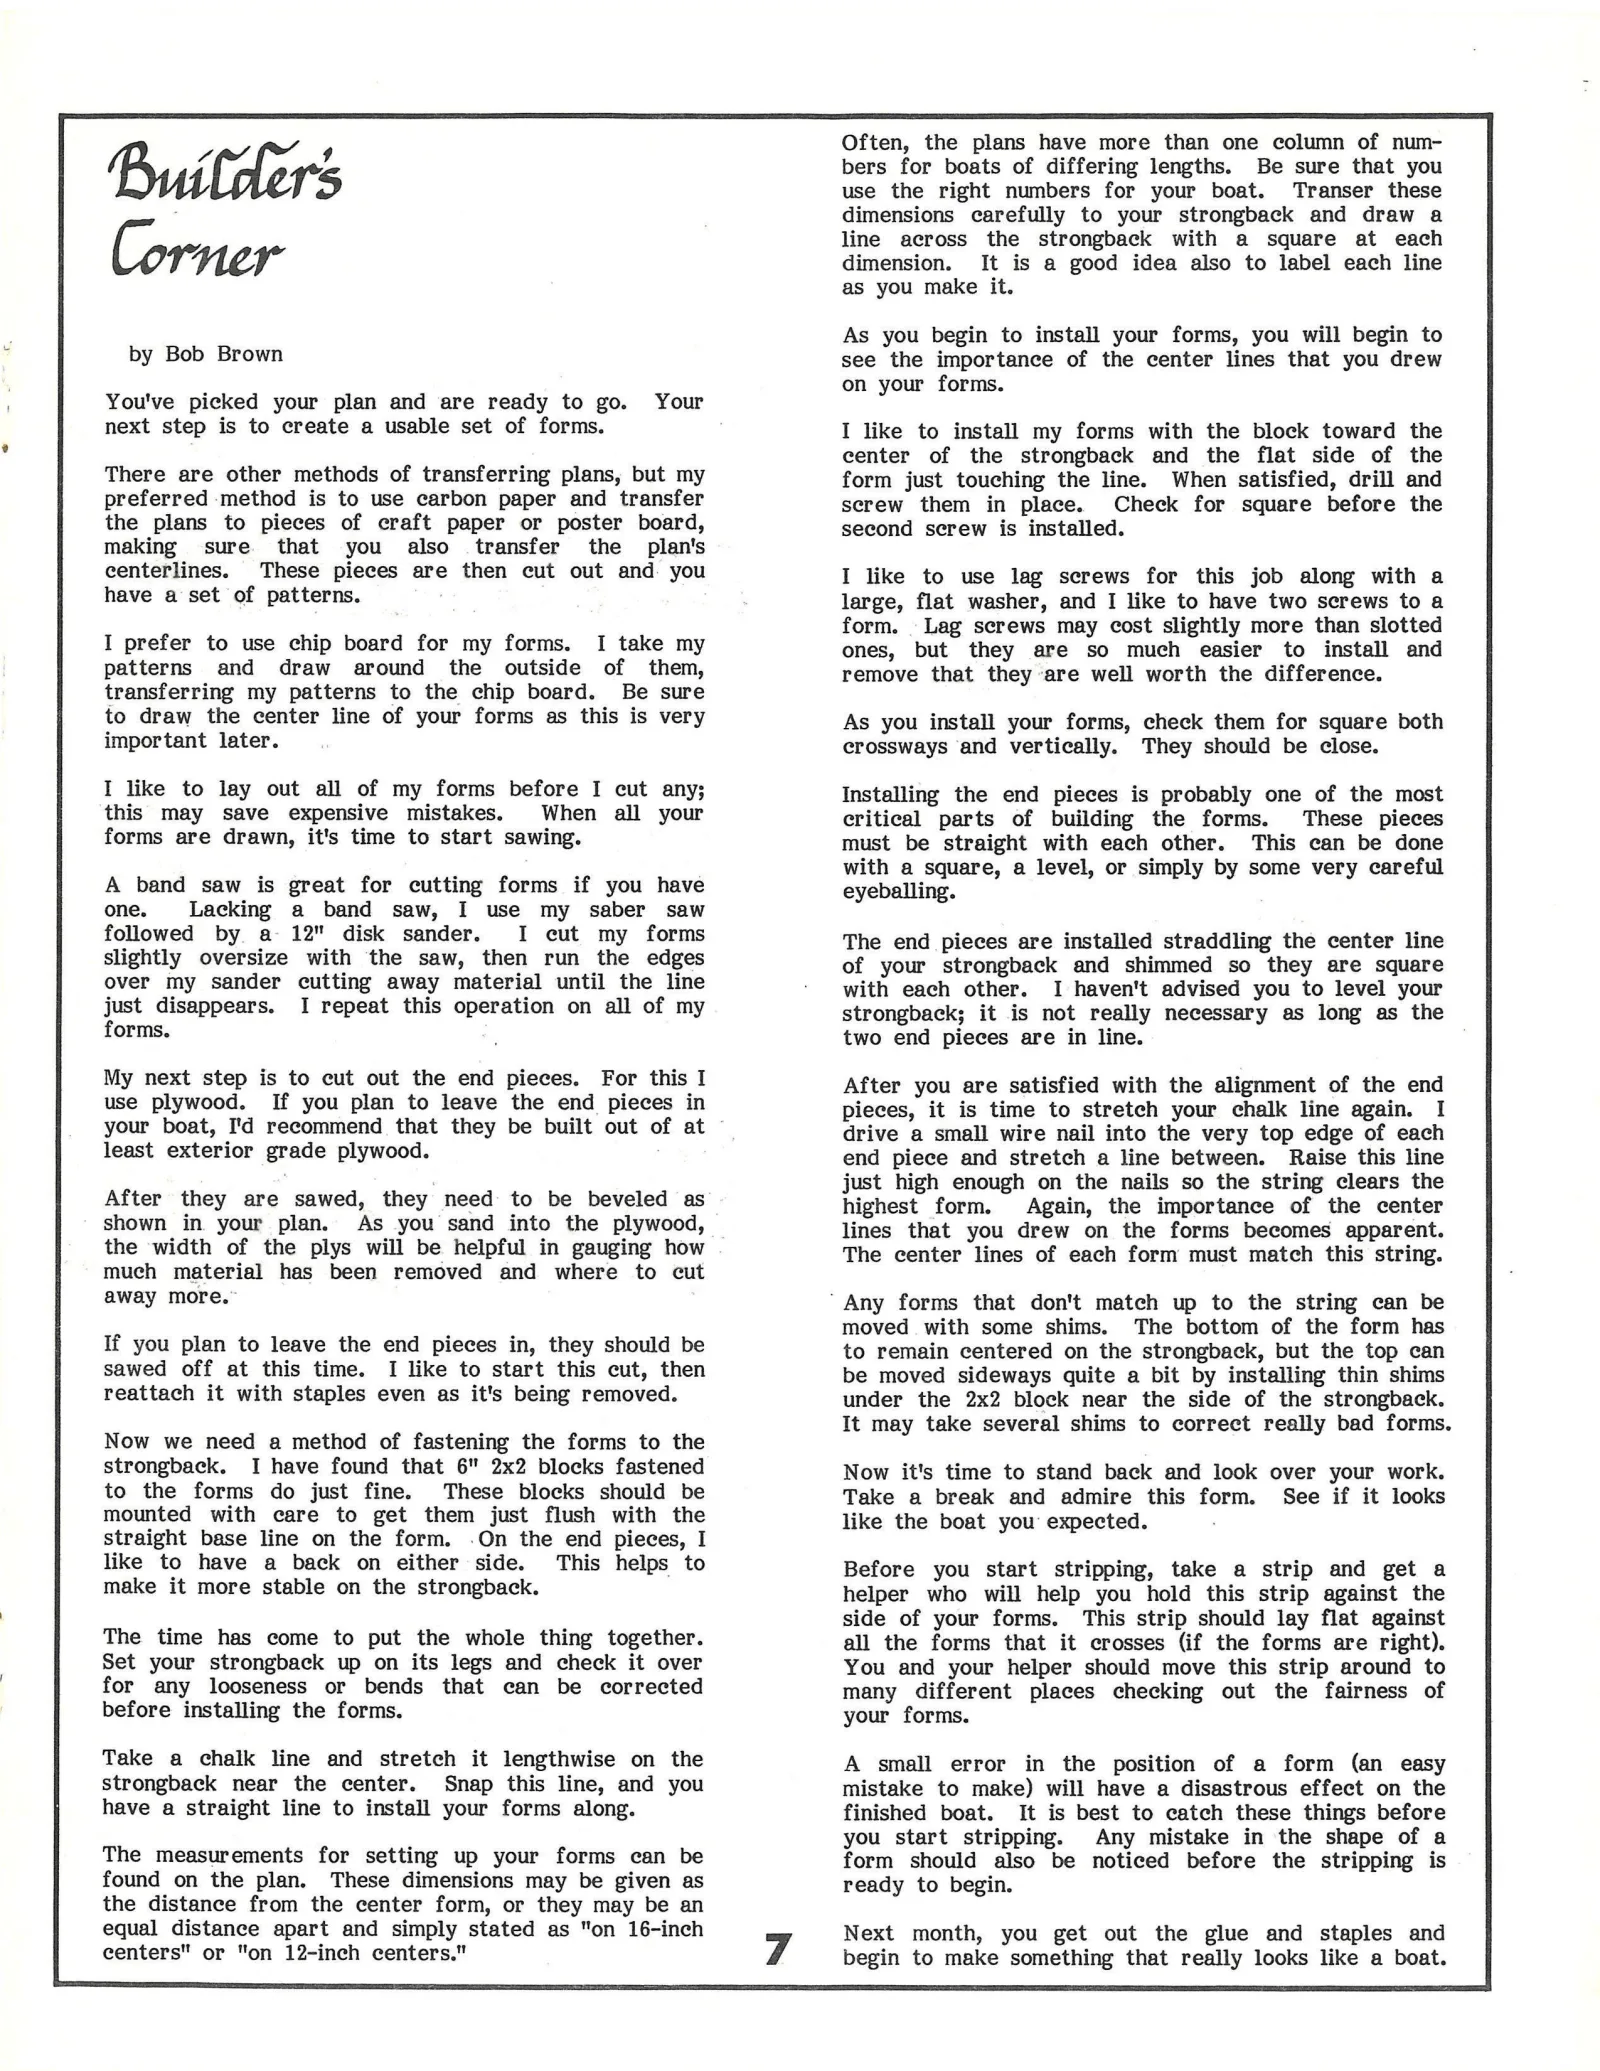
Searchable text for scan page 7
2 4 Often, the plans have more than one column of num-
Buitdes bers for boats of differing lengths. Be sure that you
"5 use the right numbers for your boat. Transer these
dimensions carefully to your strongback and draw a
line across the strongback with a square at each
Corner dimension. It is a good idea also to label each line
as you make it.
As you begin to install your forms, you will begin to
by Bob Brown see the importance of the center lines that you drew
. on your forms.
You've picked your plan and are ready to go. Your
next step is to create a usable set of forms. I like to install my forms with the block toward the
. center of the strongback and the flat side of the
There are other methods of transferring plans, but my form just touching the line. When satisfied, drill and
preferred method is to use carbon paper and transfer serew them in place. Check for square before the
the plans to pieces of craft paper or poster board, second screw is installed.
making sure that you also transfer the plan's
centerlines. These pieces are then cut out and. you I like to use lag screws for this job along with a
have a set of patterns. large, flat washer, and I like to have two screws to a
. form. Lag screws may cost slightly more than slotted
I prefer to use chip board for my forms. I take my ones, but they are so much easier to install and
patterns and draw around the outside of them, remove that they are well worth the difference.
transferring my patterns to the chip board. Be sure
to draw the center line of your forms as this is very As you install your forms, check them for square both
important later. crossways and vertically. They should be close.
I like to lay out all of my forms before I cut any; Installing the end pieces is probably one of the most
this may save expensive mistakes. When all your critical parts of building the forms. These pieces
forms are drawn, it's time to start sawing. must be straight with each other. This can be done
. . . with a square, a level, or simply by some very careful
A band saw is great for cutting forms if you have eyeballing.
one. Lacking a band saw, I use my saber saw
followed by a 12" disk sander. I cut my forms The end pieces are installed straddling the center line
slightly oversize with the saw, then run the edges of your strongback and shimmed so they are square
over my sander cutting away material until the line - with each other. I haven't advised you to level your
just disappears. I repeat this operation on all of my strongback; it is not really necessary as long as the
forms. two end pieces are in line.
My next step is to cut out the end pieces. For this I After you are satisfied with the alignment of the end
use plywood. If you plan to leave the end pieces in pieces, it is time to stretch your chalk line again. I
your boat, I'd recommend that they be built out of at drive a small wire nail into the very top edge of each
least exterior grade plywood. end piece and stretch a line between. Raise this line
just high enough on the nails so the string clears the
After they are sawed, they need to be beveled as highest form. Again, the importance of the center
shown in your plan. As you sand into the plywood, lines that you drew on the forms becomes apparent.
the width of the plys will be helpful in gauging how The center lines of each form must match this string.
much material has been removed and where to cut
away mores ‘Any forms that don't match up to the string can be
. . moved with some shims. The bottom of the form has
If you plan to leave the end pieces in, they should be to remain centered on the strongback, but the top can
sawed off at this time. I like to start this cut, then be moved sideways quite a bit by installing thin shims
reattach it with staples even as it's being removed. under the 2x2 block near the side of the strongback.
: It may take several shims to correct really bad forms.
Now we need a method of fastening the forms to the
strongback. I have found that 6" 2x2 blocks fastened Now it's time to stand back and look over your work.
to the forms do just fine. These blocks should be Take a break and admire this form. See if it looks
mounted with care to get them just flush with the like the boat you expected.
straight base line on the form. .On the end pieces, I
like to have a back on either side. This helps to Before you start stripping, take a strip and get a
make it more stable on the strongback. helper who will help you hold this strip against the
. . side of your forms. This strip should lay flat against
The time has come to put the whole thing together. all the forms that it crosses (if the forms are right).
Set your strongback up on its legs and check it over You and your helper should move this strip around to
for any looseness or bends that can be corrected many different places checking out the fairness of
before installing the forms. your forms.
Take a chalk line and stretch it lengthwise on the A small error in the position of a form (an easy
strongback near the center. Snap this line, and you mistake to make) will have a disastrous effect on the
have a straight line to install your forms along. finished boat. It is best to catch these things before
. you start stripping. Any mistake in the shape of a
The measurements for setting up your forms can be form should also be noticed before the stripping is
found on the plan. These dimensions may be given as ready to begin.
the distance from the center form, or they may be an
equal distance apart and simply stated as "on 16-inch Next month, you get out the glue and staples and
centers" or "on 12-inch centers." 7 begin to make something that really looks like a boat.
Article contents & approved summaries (0)
No article summaries are available for this view.