
December 1982 · Volume/issue not printed or unknown
December 1982 Magazine
Magazine · 16 pages
Search this issue
For the full-resolution original, use Open PDF above. Your browser handles PDF zoom and navigation.
Searchable text for scan page 6
When the bake-stuff is done, remove the mold from the
oven and set it in a shallow pan of cold water for 1-2
minutes. This will release the cake. Then turn the mold
upside down and rap it smartly against a metal or plastic
plate. The cake or whatever should pop right out if
you've let it cool sufficiently.
For large groups, use two Jello molds and two stoves.
Run them simultaneously; bake both cakes then set them
aside for the duration of time it takes to cook your main
supper meal. The two molds take up no more space in
: . . . your pack than one because they nest perfectly. Each
Big wilderness canoe trip this summer, huh? Gonna wow mold makes four very generous servings.
‘em with your culinary talents--you know, freeze-dried
stroganoff, instant chocolate pudding, and no-bake cherry
pie. Sounds great, doesn't it? Yuk!
Maybe if we substitute the "no-bake" pie for a real home-
baked Dutch chocolate cake with freshly made fudge
frosting (if you gather I'm a chocoholic, you're right),
your image might improve. But how do you bake on a
eanoe trip? In an aluminum reflector oven? Nope! Cast
iron or aluminum Dutch oven? Nope again. Or maybe a
Bendonn stamped aluminum Dutch oven. Maybe...now
we're getting the weight and bulk down to a reasonable
figure, and as long as there's a nice glowing fire...well,
what if it rains?
Here's a better idea. Next time you go shopping for
groceries, pick up a 2 or 2-1/2 quart aluminum Jarge ring
Jello mold. The old "Chilton" jello rings are ideal and can
sometimes be found at garage sales. Otherwise, they
retail for around $2.80 at most stores. Get two of them.
To bake a cake, cookies (pan cookies, that is), or muffins,
proceed as follows:
1. Grease the mold.
2. Pour your batter into a large zip-lock plastic bag and
add: 20 percent less water than the instructions call
for. Hold the top of the bag closed with one hand
and knead the mixture with the other hand. If you
don't want to measure accurately, no sweat. Just
add a bit of water at a time until the flour mixture is
thoroughly "wetted out."
3. Next, punch a hole in the bottom of the bag with
your knife and force the mixture into your waiting
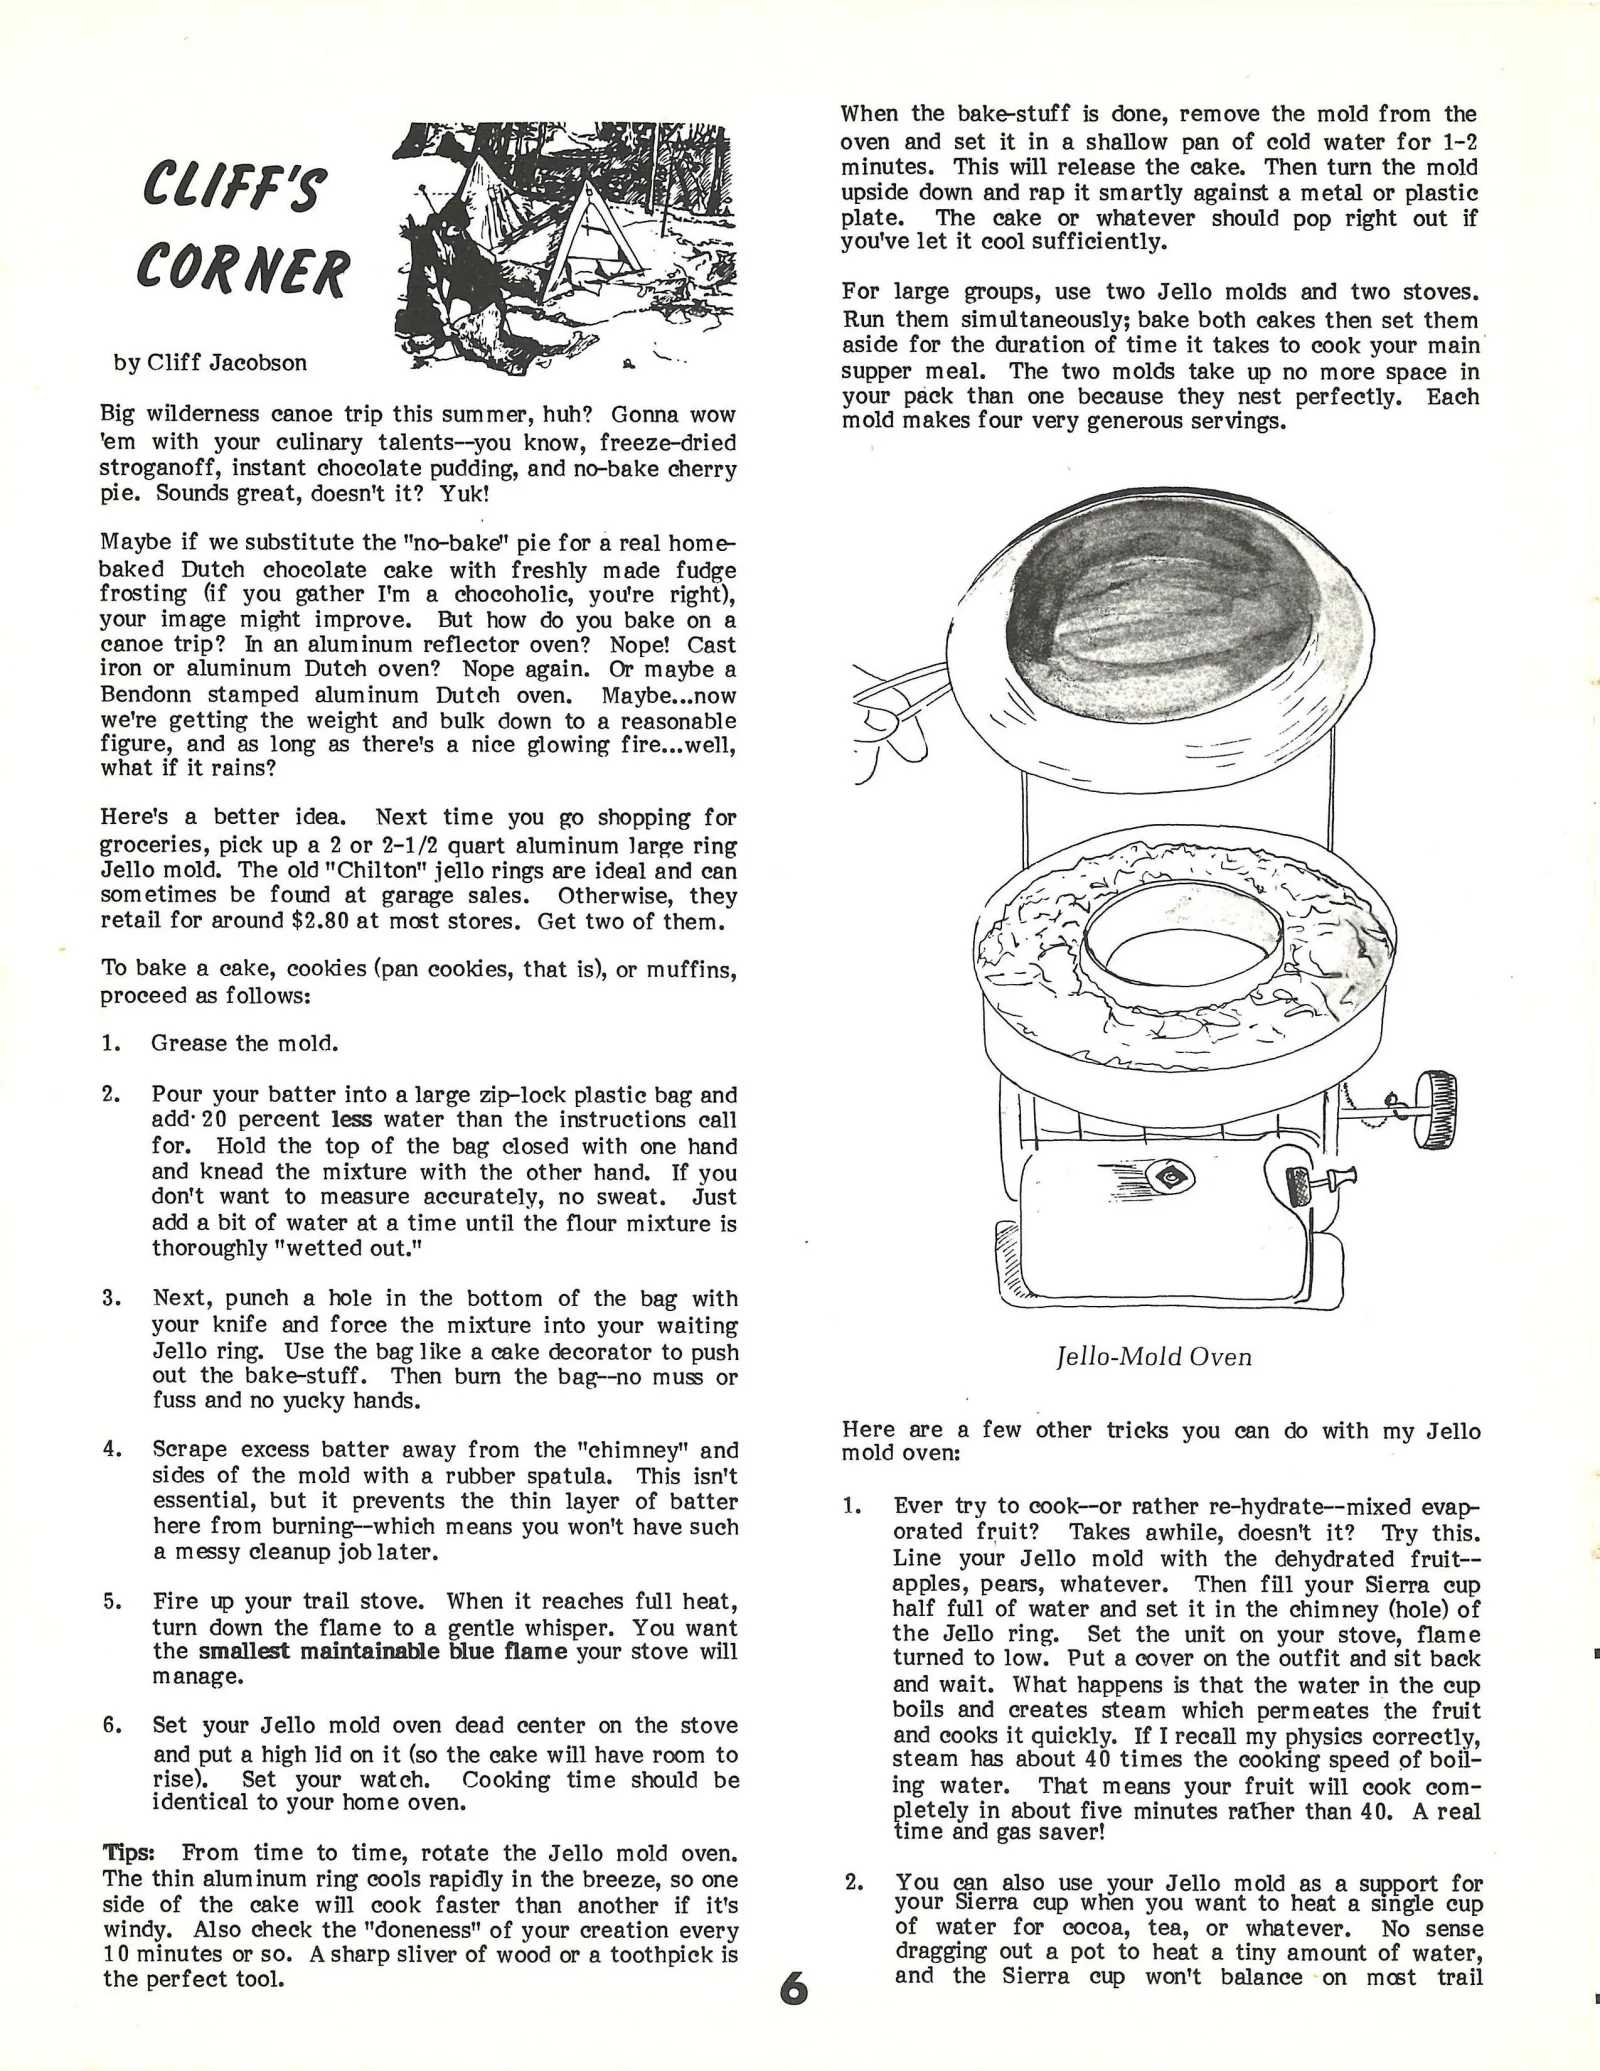
Jello ring. Use the bag like a cake decorator to push Jello-Mold Oven
out the bake-stuff. Then burn the bag--no muss or
fuss and no yucky hands.
Here are a few other tricks you can do with my Jello
4. Serape excess batter away from the "chimney" and mold oven:
sides of the mold with a rubber spatula. This isn't
essential, but it prevents the thin layer of batter 1. Ever try to cook--or rather re-hydrate--mixed evap-
here from burning--which means you won't have such orated fruit? Takes awhile, doesn't it? Try this.
a messy cleanup job later. Line your Jello mold with the dehydrated fruit--
. . . apples, pears, whatever. Then fill your Sierra cup
5. Fire up your trail stove. When it reaches full heat, half full of water and set it in the chimney (hole) of
turn down the flame to a gentle whisper. You want the Jello ring. Set the unit on your stove, flame
the smallest maintainable blue flame your stove will turned to low. Put a cover on the outfit and sit back
manage. and wait. What happens is that the water in the cup
boils and creates steam which permeates the fruit
6. Set your Jello mold oven dead center on the stove and cooks it quickly. If I recall my physies correctly,
and put a high lid on it (so the eake will have room to steam has about 40 times the cooking speed of boil-
rise), Set your watch. Cooking time should be ing water. That means your fruit will cook com-
identical to your home oven. letely in about five minutes rather than 40. A real
.
ime and gas saver!
Tips; From time to time, rotate the Jello mold oven.
The thin aluminum ring cools rapidly in the breeze, so one 2. You can also use your Jello mold as a support for
side of the cake will cook faster than another if it's your Sierra cup when you want to heat a single cup
windy. Also check the "doneness" of your creation every of water for cocoa, tea, or whatever. No sense
10 minutes or so. Asharp sliver of wood or a toothpick is dragging out a pot to heat a tiny amount of water,
the perfect tool. & and the Sierra cup won't balance on most trail
Article contents & approved summaries (0)
No article summaries are available for this view.