
August 1978 · Volume/issue not printed or unknown
August 1978 Magazine
Magazine · 12 pages
Search this issue
For the full-resolution original, use Open PDF above. Your browser handles PDF zoom and navigation.
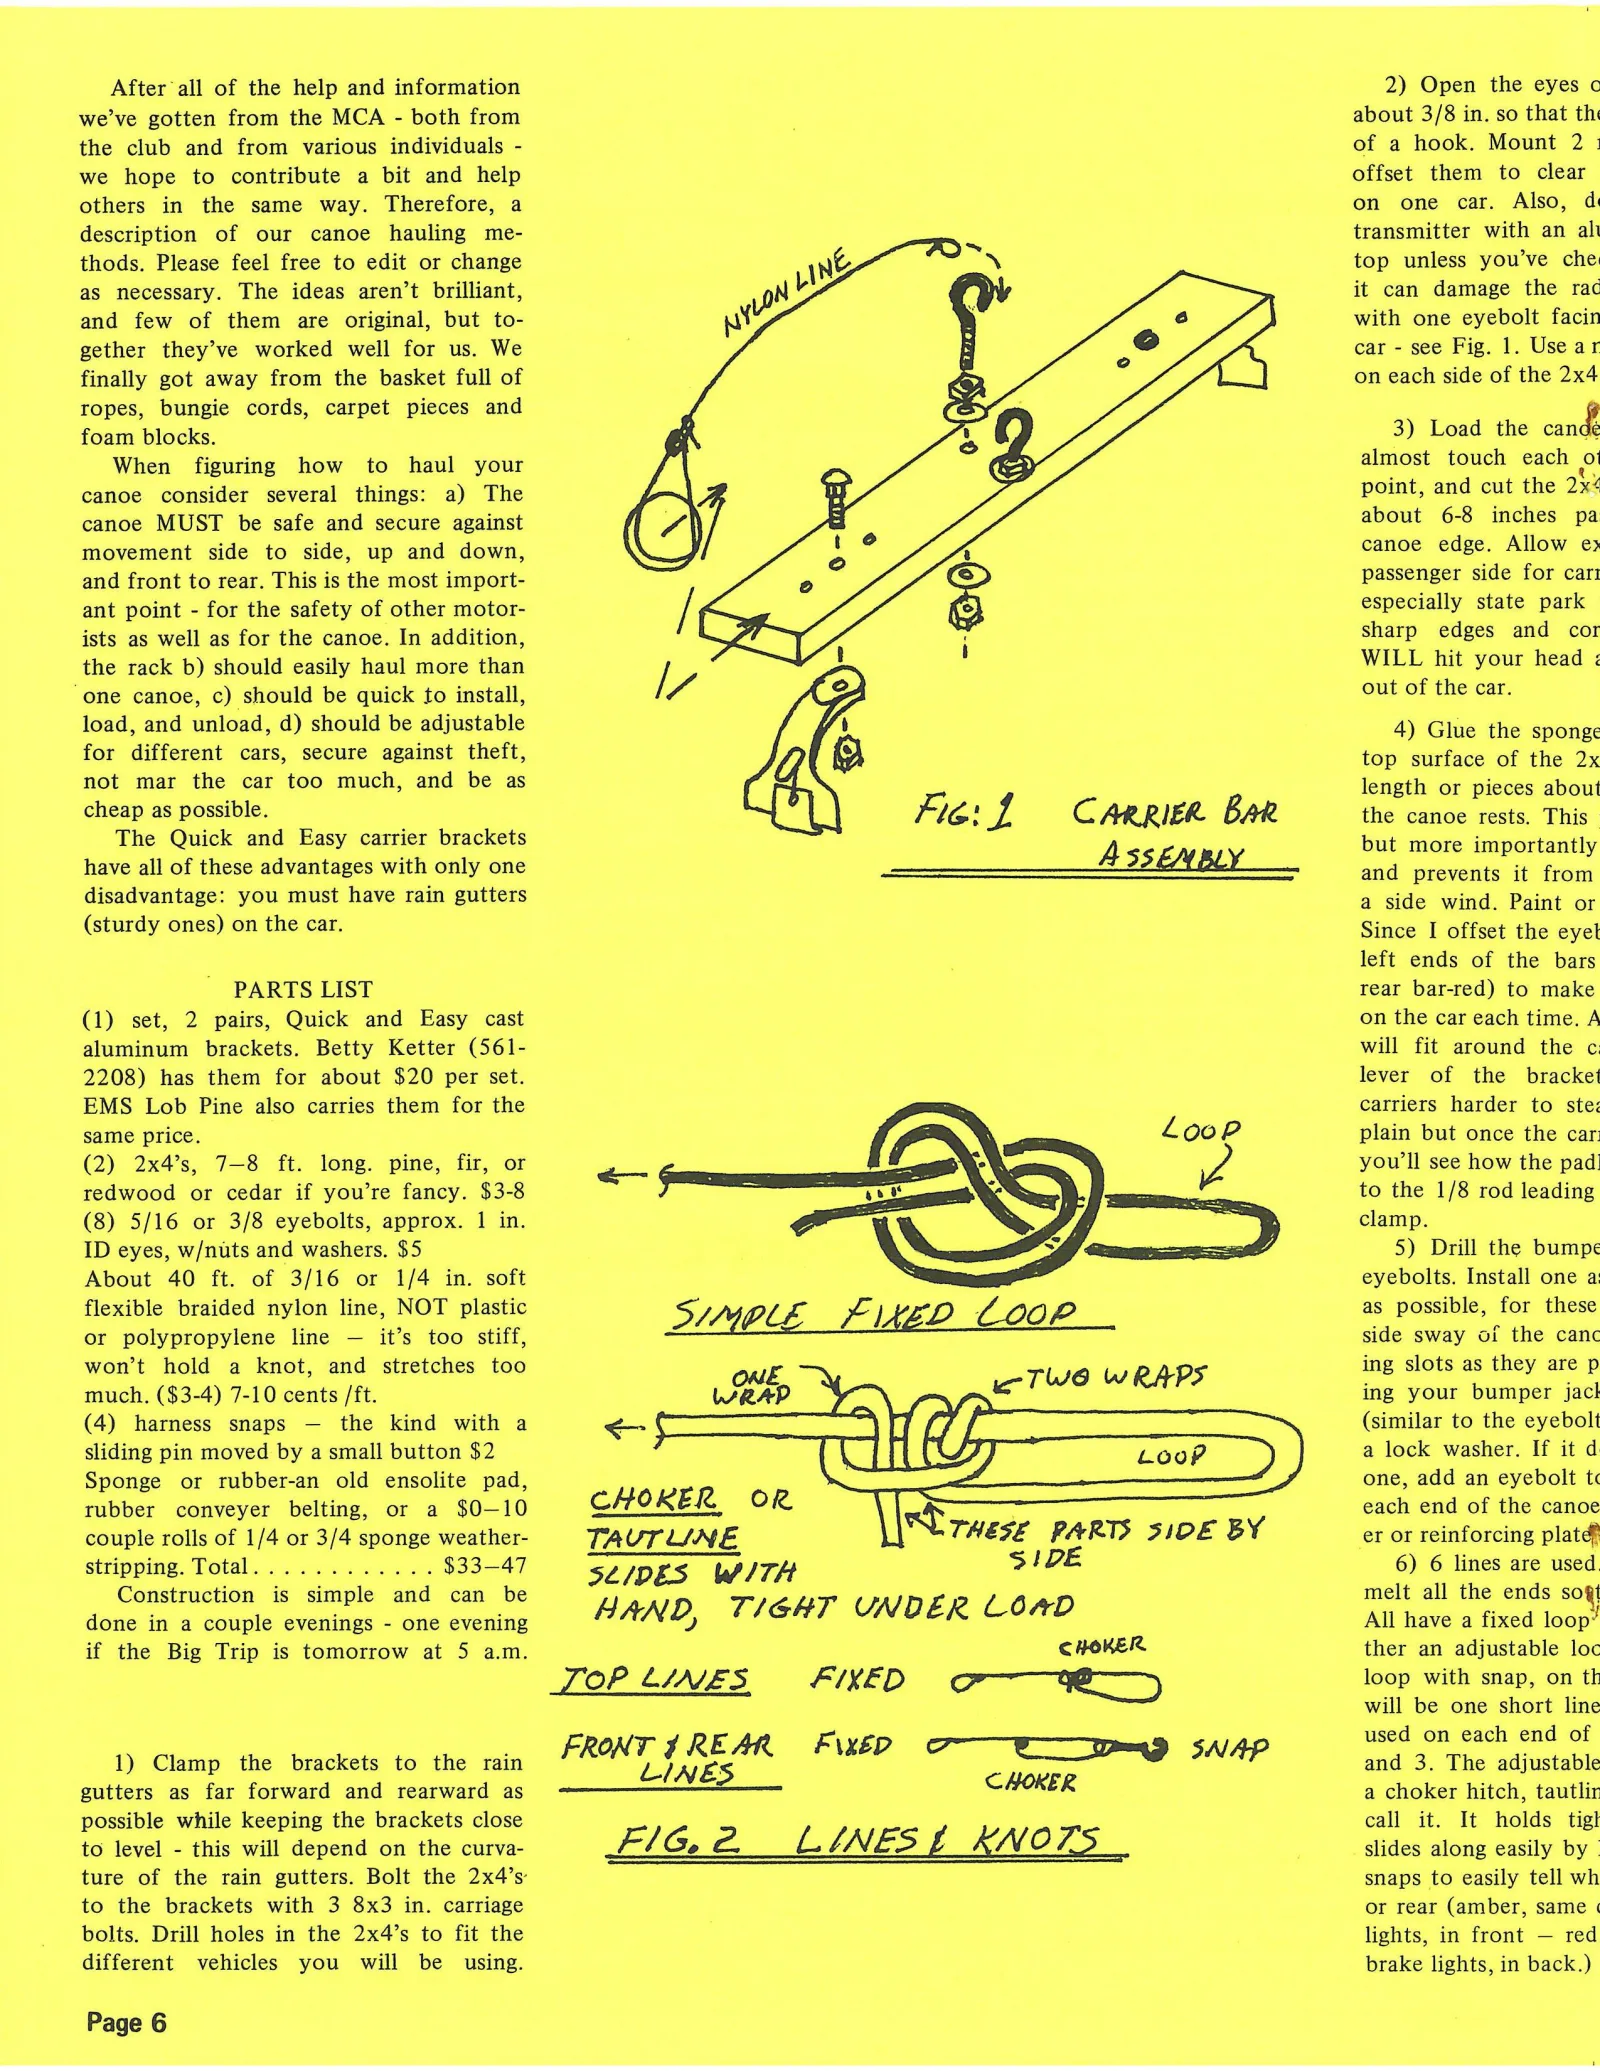
Searchable text for scan page 6
After all of the help and information 2) Open the eyes c
we've gotten from the MCA - both from ; about 3/8 in. so that thi
the club and from various individuals - of a hook. Mount 2 |
we hope to contribute a bit and help offset them to clear
others in the same way. Therefore, a on one car. Also, d
description of our canoe hauling me- transmitter with an al
top unless you’ve che
it can damage the rac
with one eyebolt facin
car - see Fig. 1. Use ar
on each side of the 2x4
thods. Please feel free to edit or change
as necessary. The ideas aren’t brilliant,
and few of them are original, but to-
gether they’ve worked well for us. We
finally got away from the basket full of
ropes, bungie cords, carpet pieces and
foam blocks.
When figuring how to haul your
canoe consider several things: a) The
canoe MUST be safe and secure against
movement side to side, up and down,
and front to rear. This is the most import-
ant point - for the safety of other motor-
ists as well as for the canoe. In addition,
the rack b) should easily haul more than
‘one canoe, c) should be quick to install,
load, and unload, d) should be adjustable
for different cars, secure against theft,
not mar the car too much, and be as
3) Load the at
almost touch each o1
point, and cut the be:
about 6-8 inches pa
canoe edge. Allow e»
passenger side for cari
especially state park
sharp edges and cor
WILL hit your head ¢
out of the car.
4) Glue the sponge
top surface of the 2x
length or pieces about
cheap as possible. a Fug: £ CARRIER Bar the canoe rests. This
The Quick and Easy carrier brackets but more important]
have all of these advantages with only one A SSEMBLY : :
and prevents it from
disadvantage: you must have rain gutters a side wind. Paint or
(sturdy ones) on the car. Since I offset the eyet
left ends of the bars
PARTS LIST rear bar-red) to make
(1) set, 2 pairs, Quick and Easy cast on the car each time. A
aluminum brackets. Betty Ketter (561- will fit around the c.
2208) has them for about $20 per set. lever of the bracket
EMS Lob Pine also carries them for the carriers harder to ste
plain but once the car:
you'll see how the pad
to the 1/8 rod leading
clamp.
5) Drill the bumpe
eyebolts. Install one a:
same price.
(2) 2x4’s, 7-8 ft. long. pine, fir, or
redwood or cedar if you’re fancy. $3-8
(8) 5/16 or 3/8 eyebolts, approx. 1 in.
ID eyes, w/nuts and washers. $5
About 40 ft. of 3/16 or 1/4 in. soft
flexible braided nylon line, NOT plastic SIMOLE FLED LOOP as possible, for these
or polypropylene line — it’s too stiff, a= side sway of the canc
won’t hold a knot, and stretches too ing slots as they are p
much. ($3-4) 7-10 cents /ft. wRAP = TWO RAPS ing your bumper jacl
(4) harness snaps — the kind with a oe (similar to the eyebolt
<-\ { y
sliding pin moved by a small button $2
(X )] LooP ) a lock washer. If it d
Sponge or rubber-an old ensolite pad, ae aut
rubber conveyer belting, or a $0—10 CHORKER OR wp. each end of the canoe
couple rolls of 1/4 or 3/4 sponge weather- TAUT UNE | | THESE PARTS SIDE BY er or reinforcing platd
stripping. Potalic cw j6 24 sacs saw $33—47 , SIDE 6) 6 lines are used
SLIDES WITH
Construction is simple and can be melt all the ends sogt
done in a couple evenings - one evening HAND, T/GHT UNDER LOAD All have a fixed loop’
if the Big Trip is tomorrow at 5 a.m. CHOKER ther an adjustable loc
JOP LINES FIXED oe loop with snap, on tt
will be one short line
FRONT REAR FixéD OF SWAP used on each end of
1) Clamp the brackets to the rain : and 3. The adjustable
gutters as far forward and rearward as LINE, CHOKER a choker aah tautlir
possible while keeping the brackets close call it. It holds tigl
to level - this will depend on the curva- F/G, 2 L 4NES 4 KNO?S _ slides along easily ae
ture of the rain gutters. Bolt the 2x4’s = snaps to easily tell wh
to the brackets with 3 8x3 in. carriage or rear (amber, same «
bolts. Drill holes in the 2x4’s to fit the lights, in front — red
different vehicles you will be using. brake lights, in back.)
Page 6
Article contents & approved summaries (0)
No article summaries are available for this view.